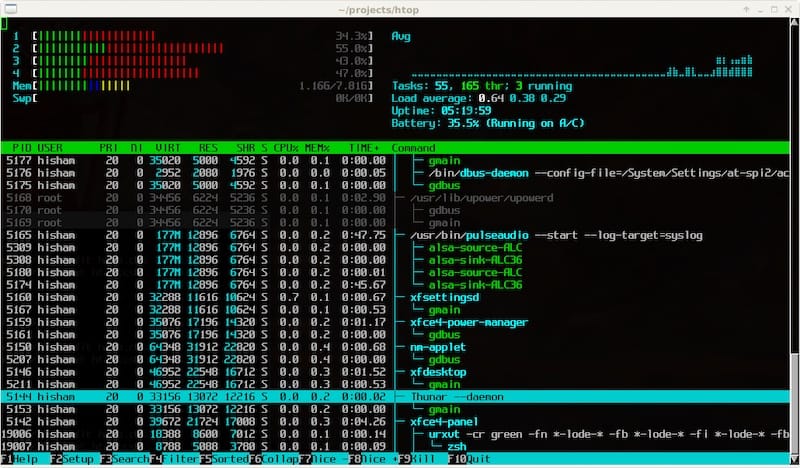
In this tutorial, we will show you how to install Htop on Rocky Linux 9. For those of you who didn’t know, Htop is an interactive process manager and viewer for system monitoring. It is just like the default top command with an additional set of options and a better display on the monitor. Htop displays a frequently updated list of the processes currently executing on a computer, usually in the order of CPU consumption.
This article assumes you have at least basic knowledge of Linux, know how to use the shell, and most importantly, you host your site on your own VPS. The installation is quite simple and assumes you are running in the root account, if not you may need to add ‘sudo‘ to the commands to get root privileges. I will show you the step-by-step installation of the Htop interactive process viewer on Rocky Linux. 9.
Prerequisites
- A server running one of the following operating systems: Rocky Linux 9.
- It’s recommended that you use a fresh OS install to prevent any potential issues.
- SSH access to the server (or just open Terminal if you’re on a desktop).
- A
non-root sudo useror access to theroot user. We recommend acting as anon-root sudo user, however, as you can harm your system if you’re not careful when acting as the root.
Install Htop on Rocky Linux 9
Step 1. The first step is to update your system to the latest version of the package list. To do so, run the following commands:
sudo dnf check-update
sudo dnf install dnf-utils
sudo dnf install epel-release
Step 2. Installing Htop on Rocky Linux 9.
By default, Htop is not available on Rocky Linux 9 base repository. Now run the following command below to install the latest stable version of the Htop using the following command below:
sudo dnf install htop
Verify the version of Htop installed:
htop --version
Step 3. Accessing Htop on Rocky Linux 9.
Once the installation is completed, we can run it on your terminal to start monitoring various processes using the following command:
htop

Step 4. Htop Keyboard Shorts.
Here are some key shortcuts to use:
| Keys | Function |
|---|---|
| ← , ↑ , → , ↓ | Scroll through the process list |
| ⇧ + U | Remove all tags |
| . or , | Incremental search for the PID |
| F1 , ? , H | Show help |
| U | Show processes of a user |
| F2 , ⇧ + S | Open setup and change settings |
| ⇧ + H | Show/hide user threads |
| F3, ⇧ + / | Incremental process name search |
| ⇧ + K | Show/hide kernel threads |
| F4, \ | Filter by name |
| ⇧ + F. | Pin the cursor to a process |
| F5 , T | Activate / deactivate tree view |
| + , – | Expand/collapse the tree |
| F6, > | Select the column to sort |
| ⇧ + P | Sort processes by CPU usage |
| F7 | Decrease Nice value |
| ⇧ + M | Sort processes by memory usage |
| F8 | Increase Nice value |
| ⇧ + T | Sort processes by the time |
| F9, K | End the process or processes of a day |
| L | Open files with lsof open |
| F10 , Q , Ctrl + C | break up |
| S | System calls to stracetrace |
| Space bar | Tag process |
| ⇧ + L | Track library ltracecalls |
| I | I / O control |
Congratulations! You have successfully installed Htop. Thanks for using this tutorial for installing Htop system monitoring on your Rocky Linux 9 system. For additional help or useful information, we recommend you check the official Htop website.
